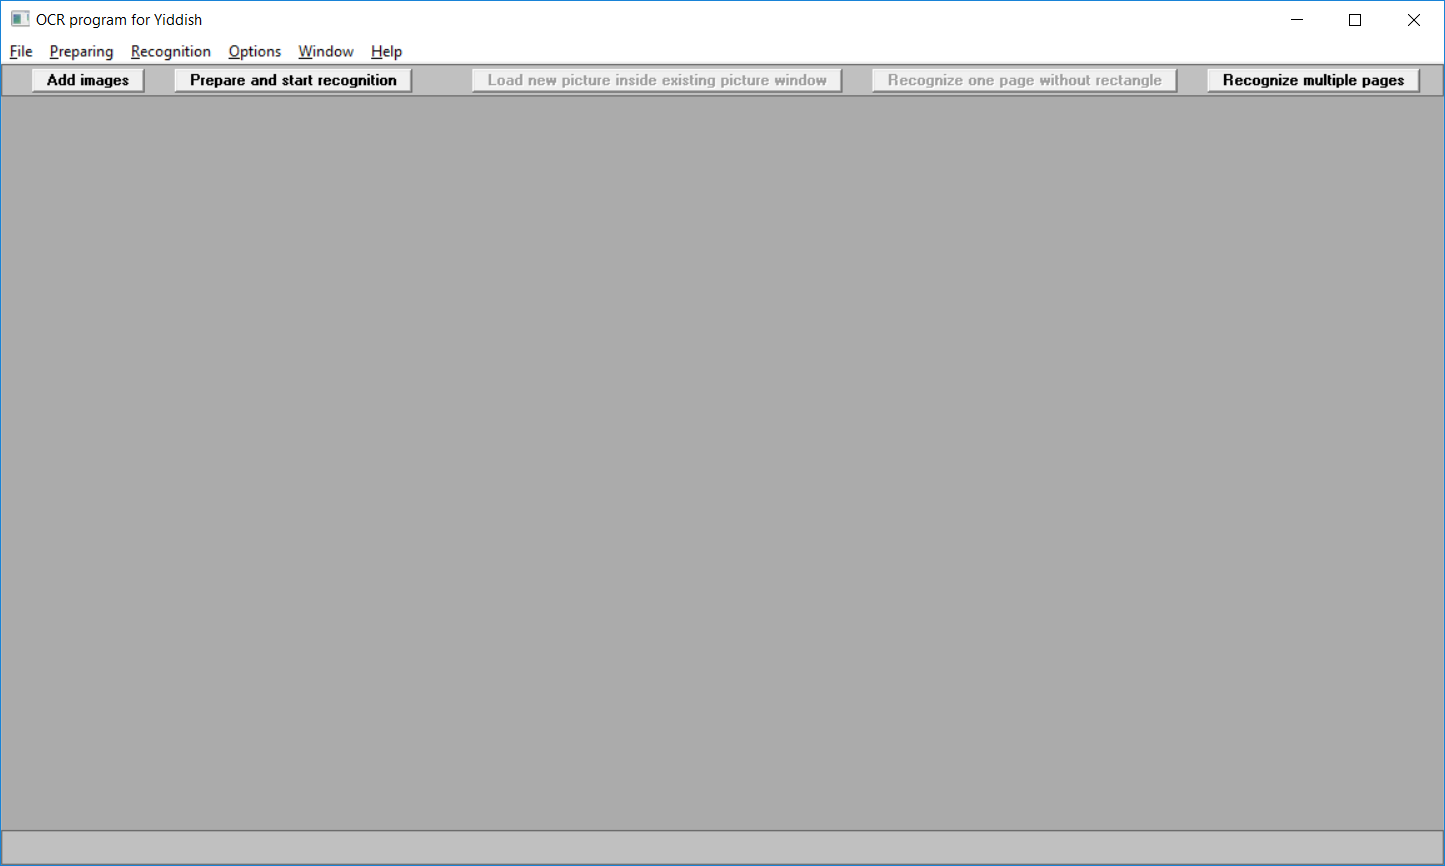
Start the OCR program for Yiddish via the Start menu.
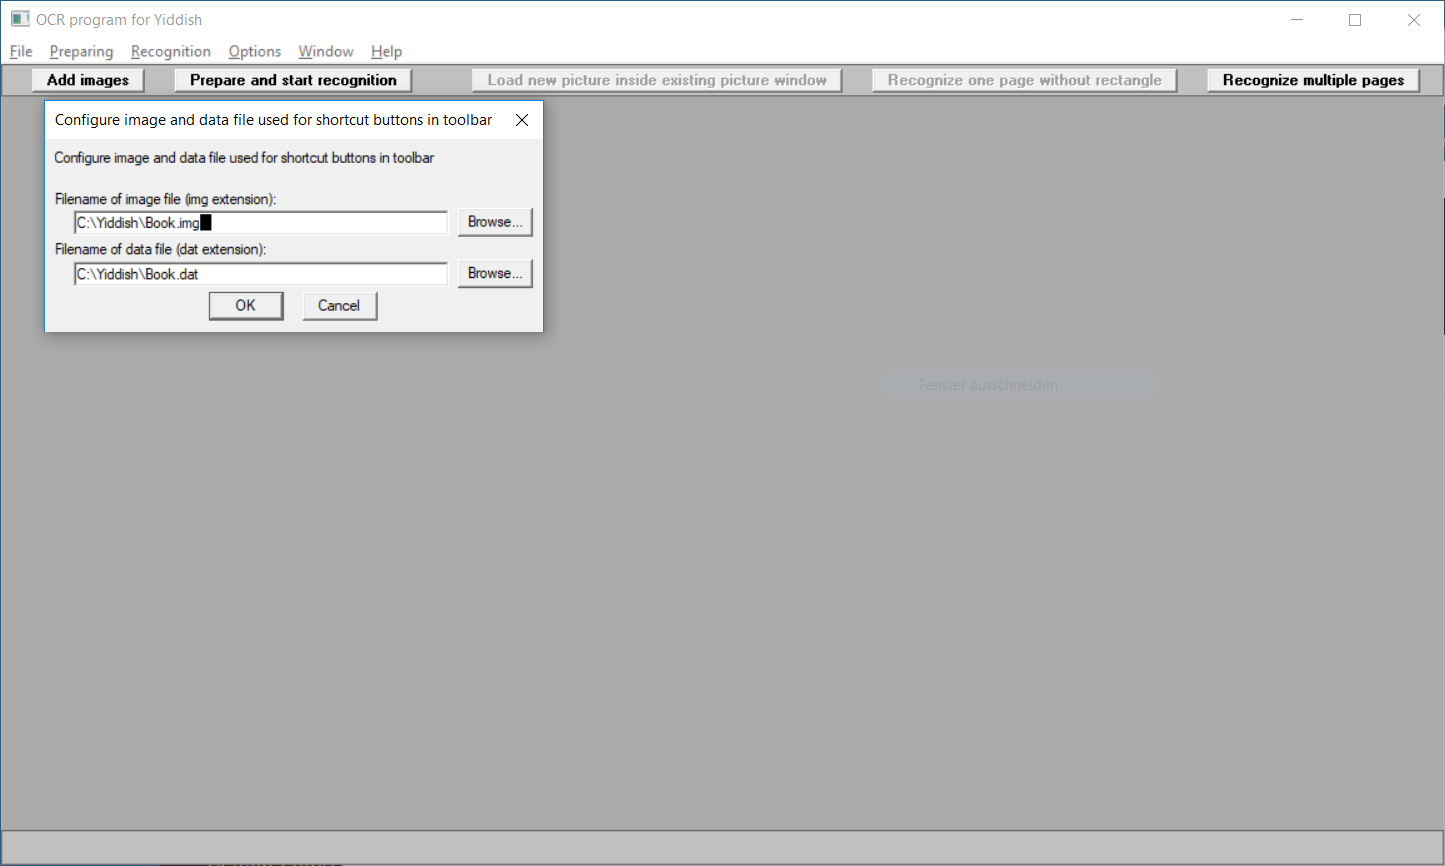
Set the filenames for the .img and .dat file by clicking on Options and
Configure image and data file used for shortcut buttons in toolbar....
The .img and .dat files should be in the same path and given the same name before the file extension.
Via clicking on the Browse... button, the path and filename can be selected with the Windows
File Save dialog.
The .img and .dat files are used to associate images to letters of the Yiddish alphabet.
Since the .img and .dat files are dependent on the specific font style of the source, different
.img and .dat files are needed for different sources.
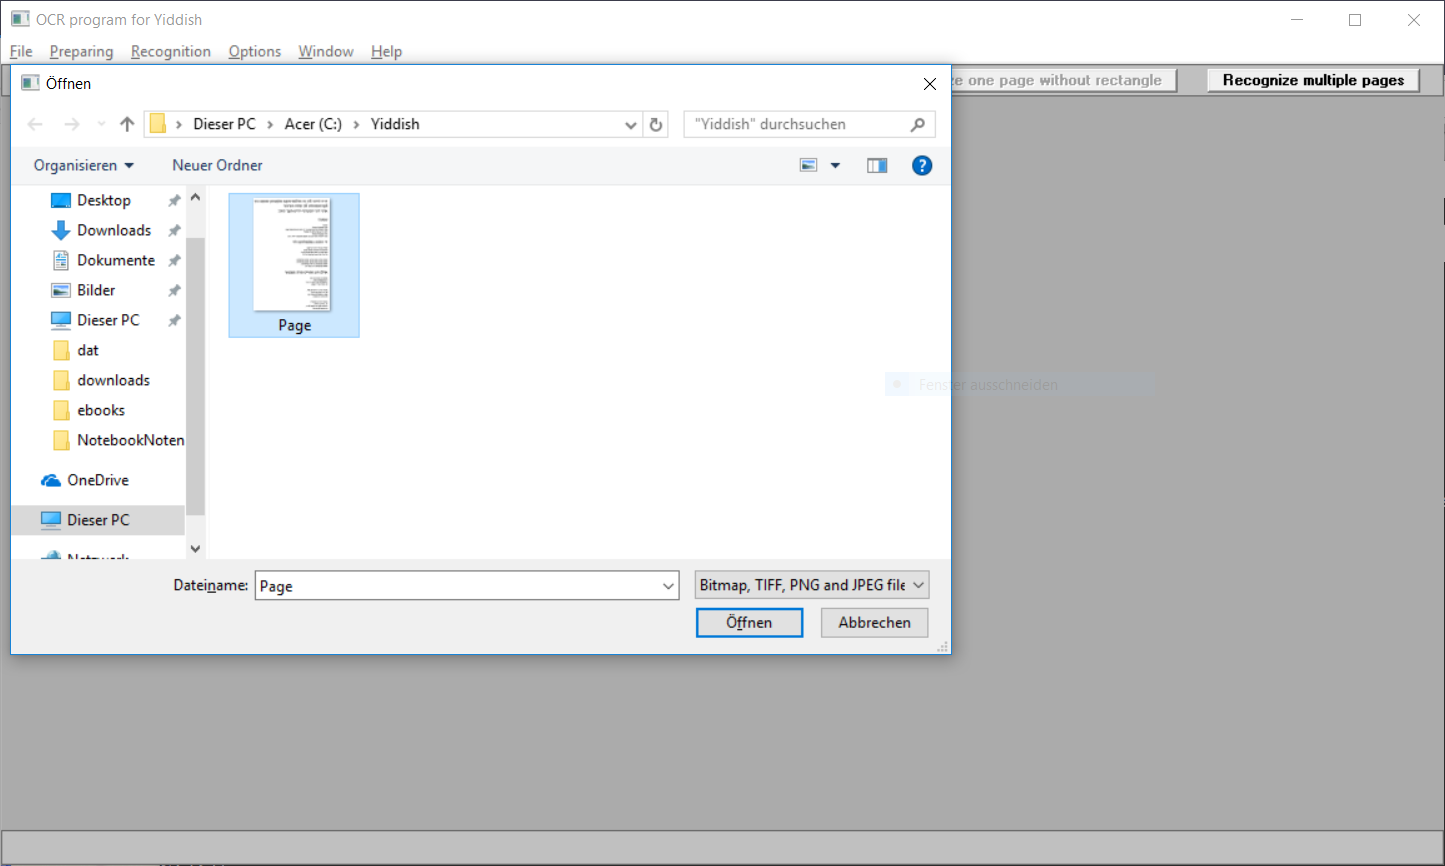
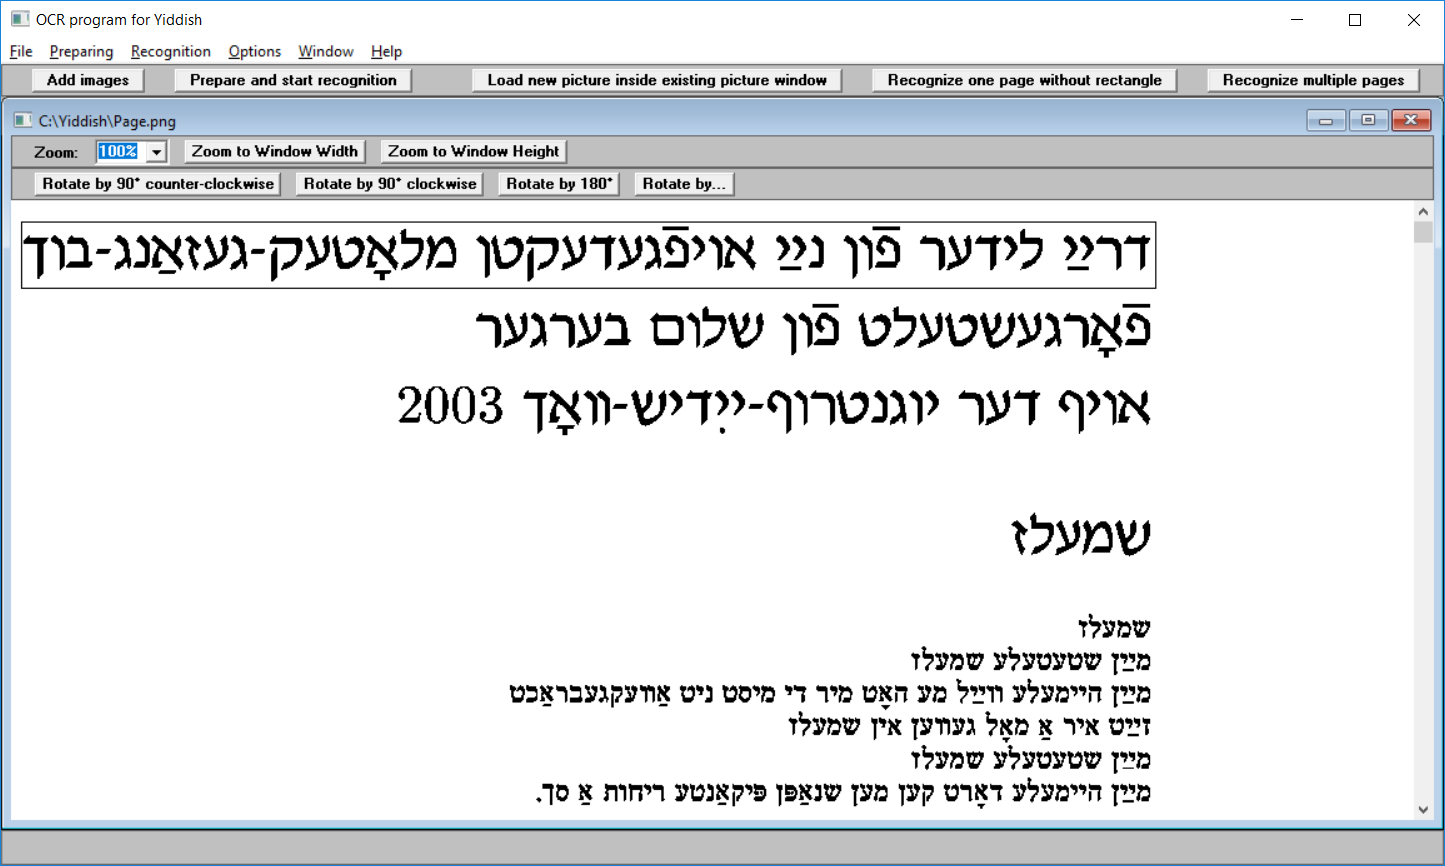
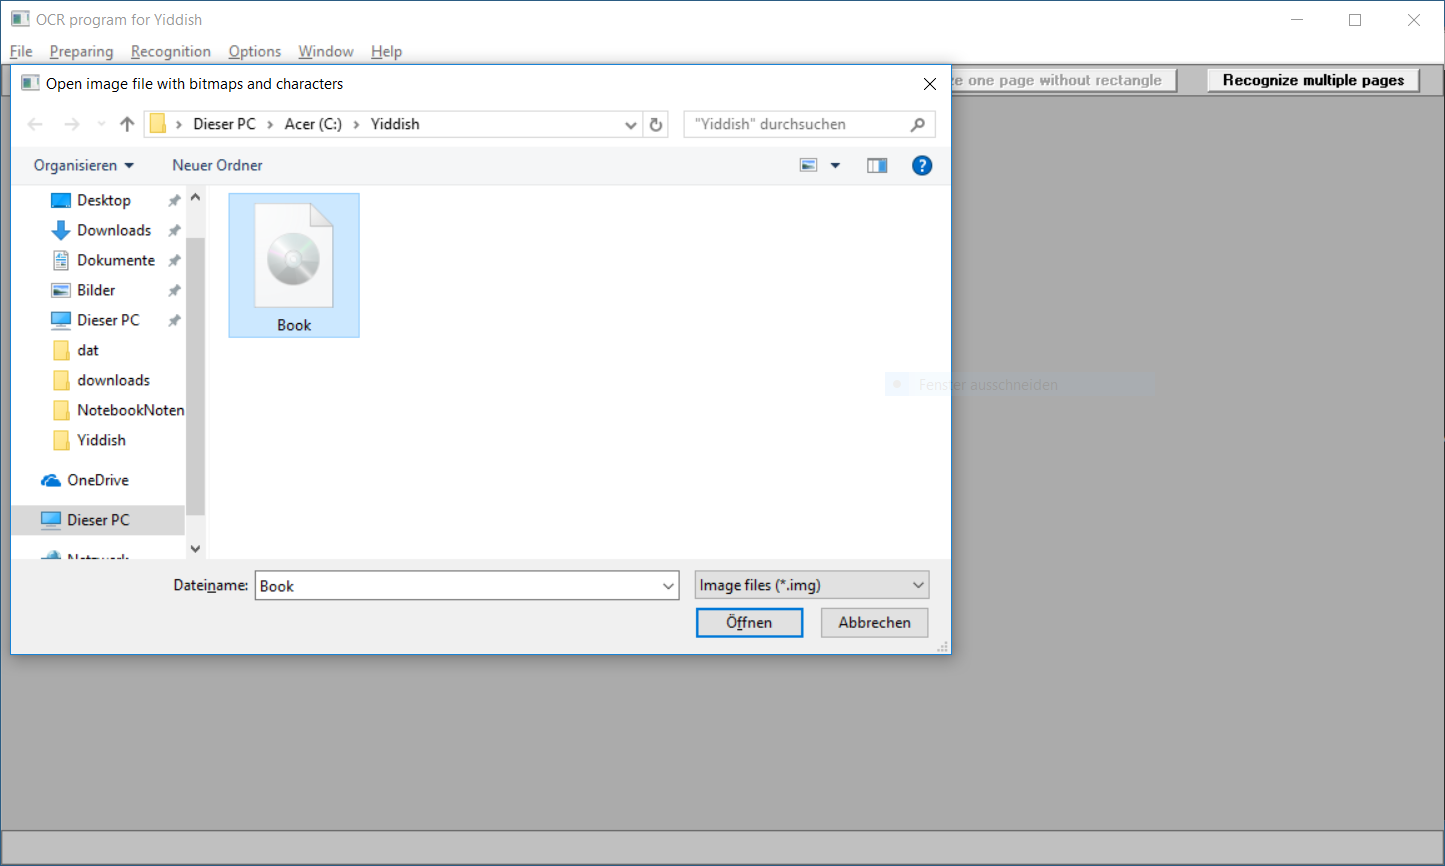
Open the picture file with the text by clicking on File and Open Bitmap (BMP), TIFF, PNG or JPEG file....
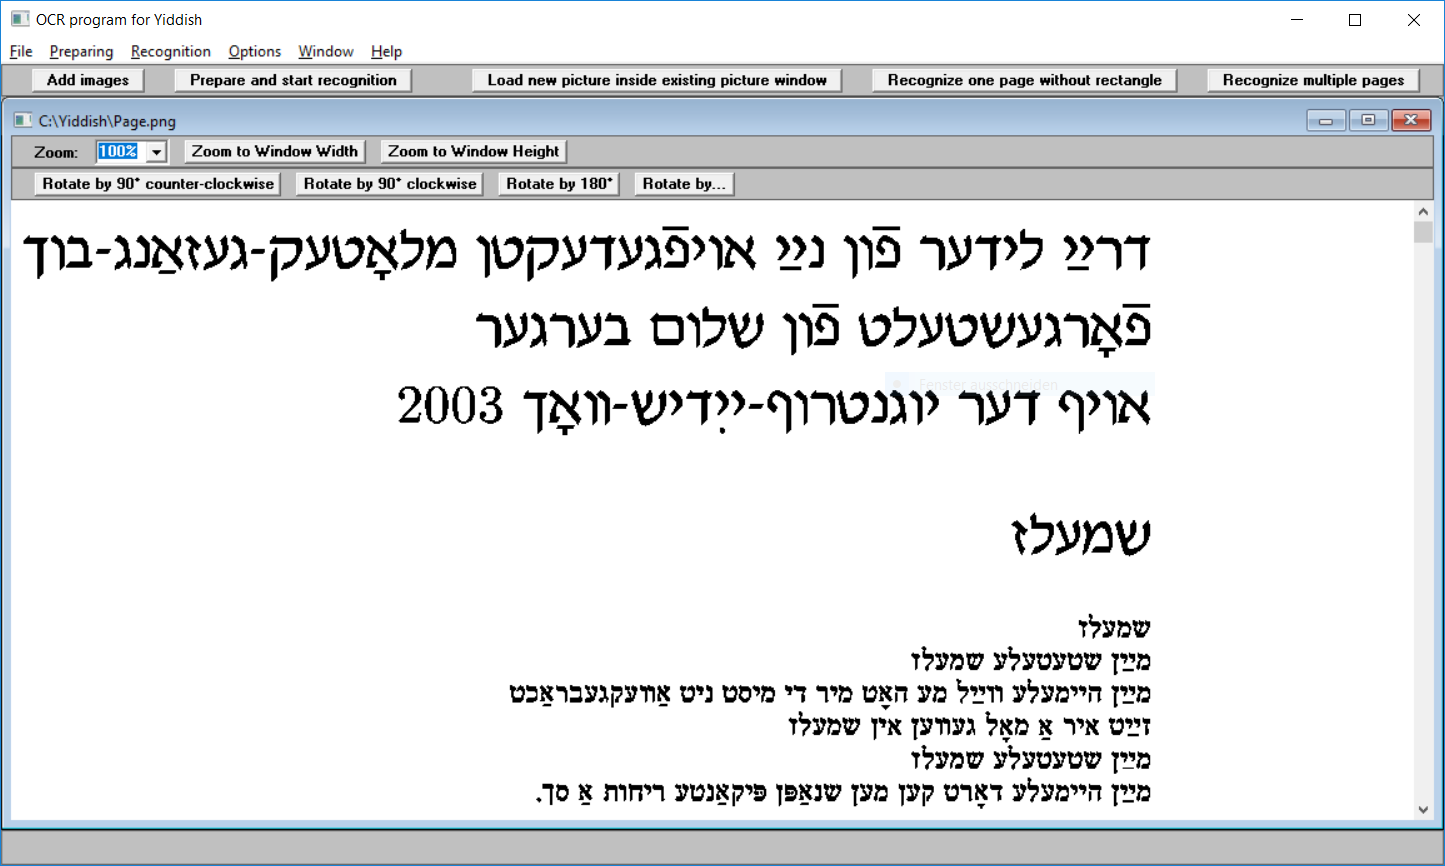
The screen with the opened file - this is a screenshot of a text in PDF format from Raphael Finkel's great Yiddish website: https://www.cs.uky.edu/~raphael/yiddish.html
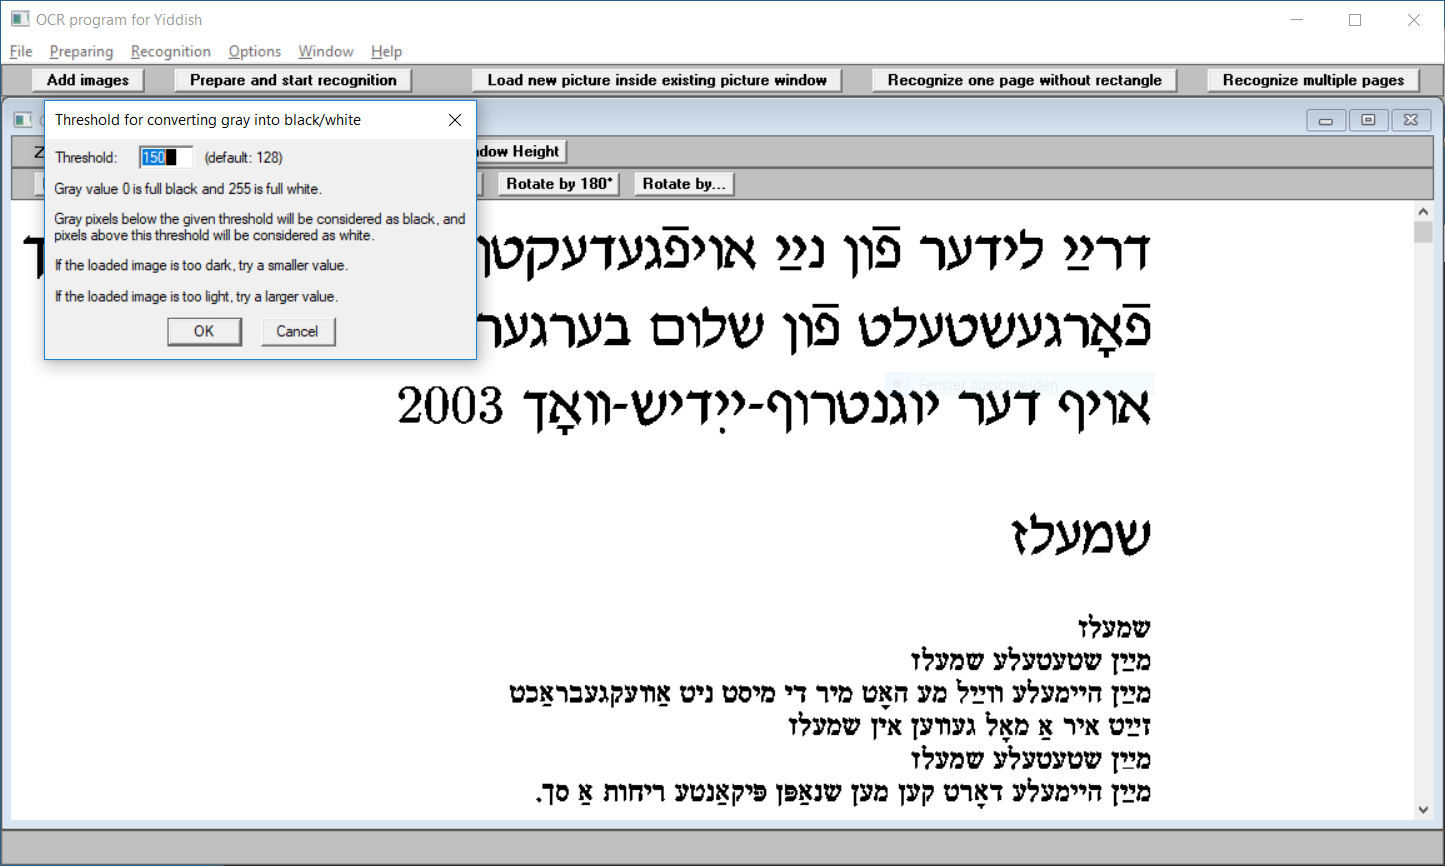
The OCR program for Yiddish processes images with only black and white pixels so that it automatically
converts the image into black and white by setting all pixels to black
which are darker than a customizable threshold, all other pixels are set to white.
This threshold is set by clicking on Options and Set Threshold
for converting gray into black/white....
IMPORTANT: The Latin letter i and the Hebrew letter Alef without any nikud must be assigned to at least one image, otherwise the spaces between the letters cannot be recognized properly.
Click on the button Add images.

Then a rectangle which covers a line of text has to be created by placing the mouse cursor at the left top of the rectangle, pressing the left mouse button, keeping it pressed, moving the mouse cursor to the right bottom of the rectangle and releasing the left mouse button.
In subsequent mouse movements, the rectangle's width and height will
remain the same so that it can be used for subsequent lines easily.
For setting a new width and height with the next mouse action, press Ctrl+R and
then create a new rectangle.
In order to refresh the screen, press F5.
The rectangle is both used in associating images to letters and character recognition.
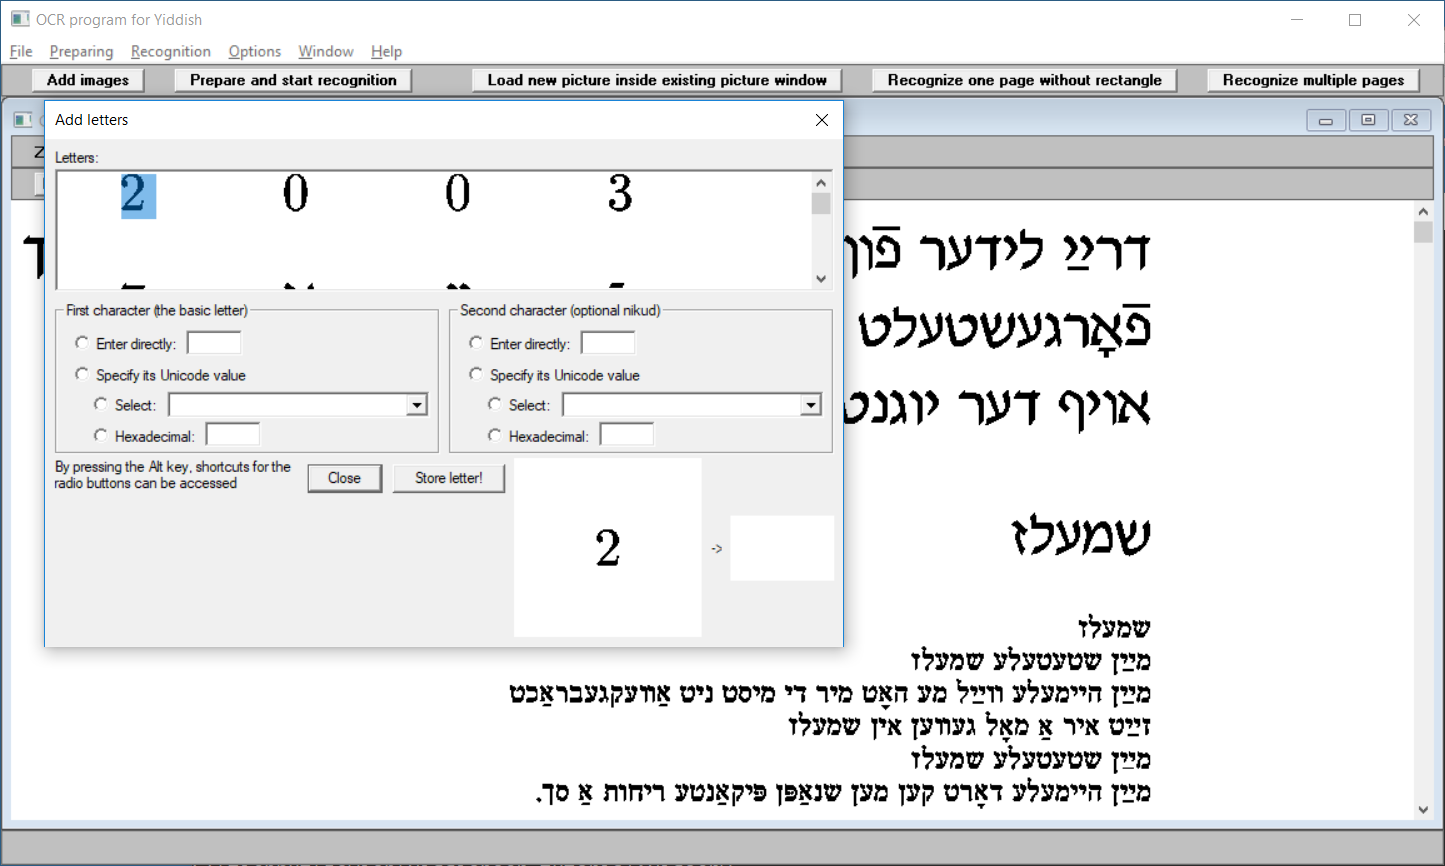
In order to associate images to letters, place the rectangle over the line and click on the left mouse button.
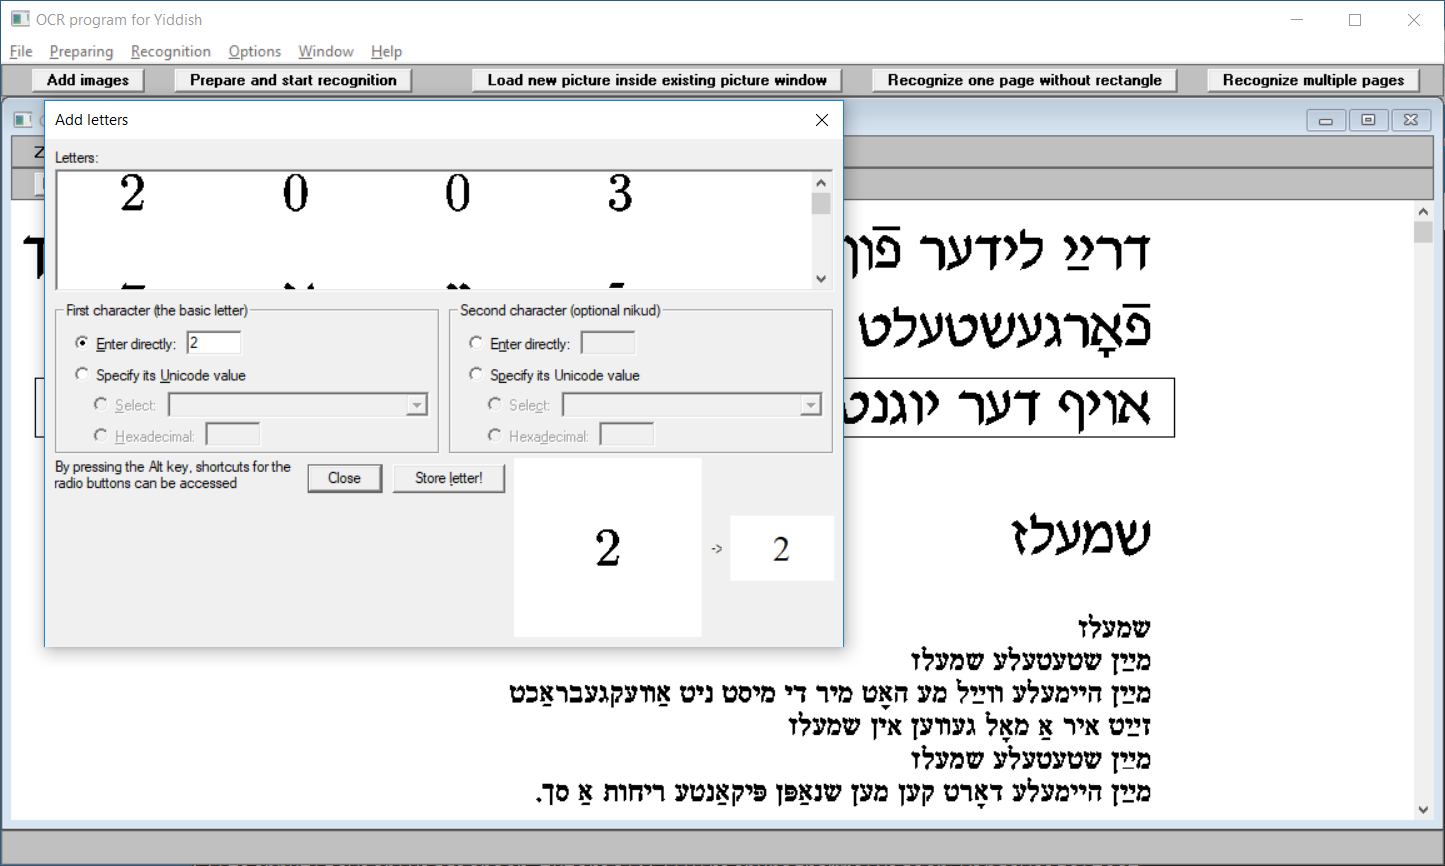
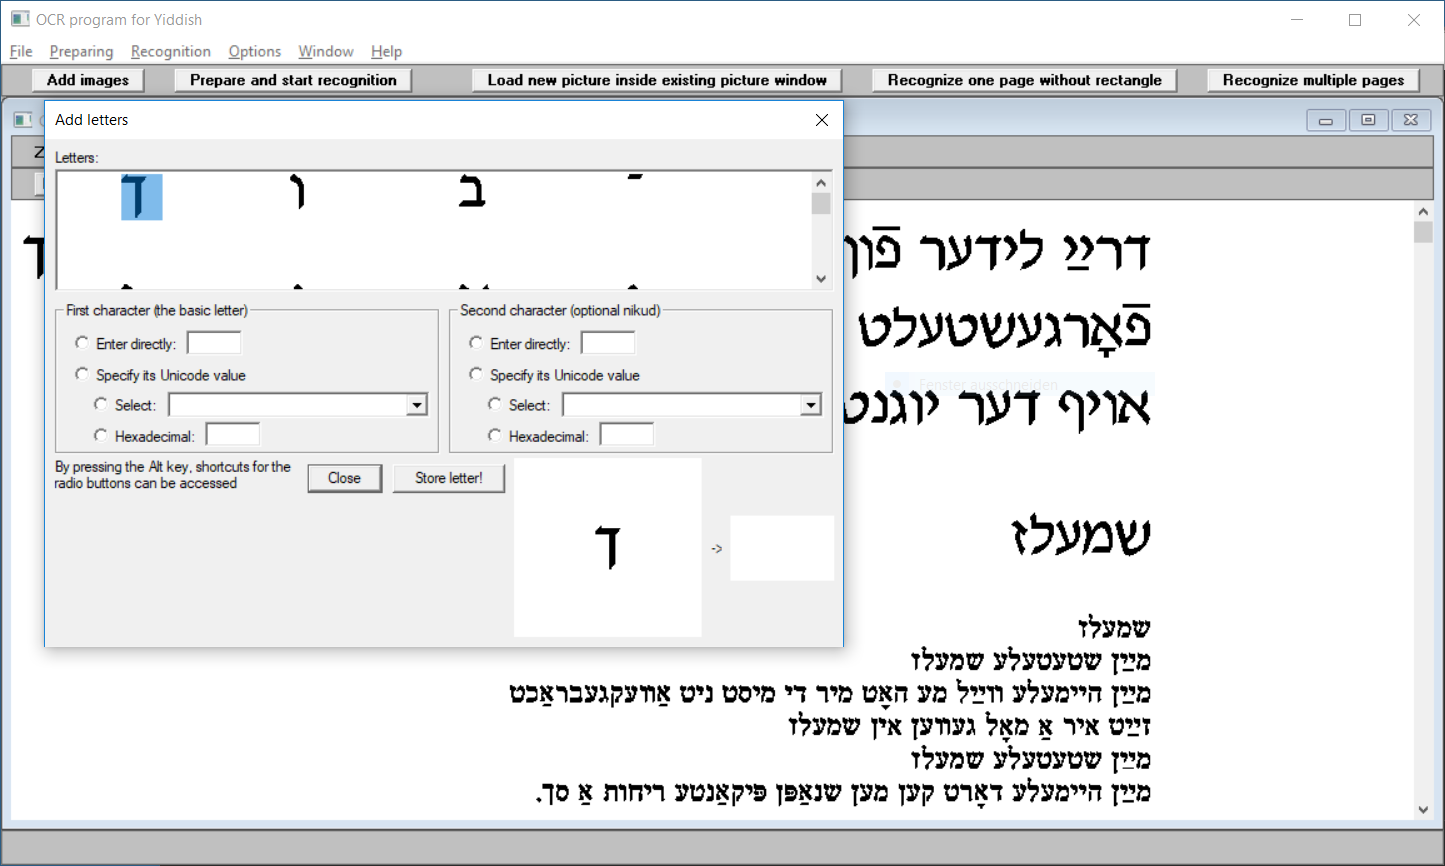
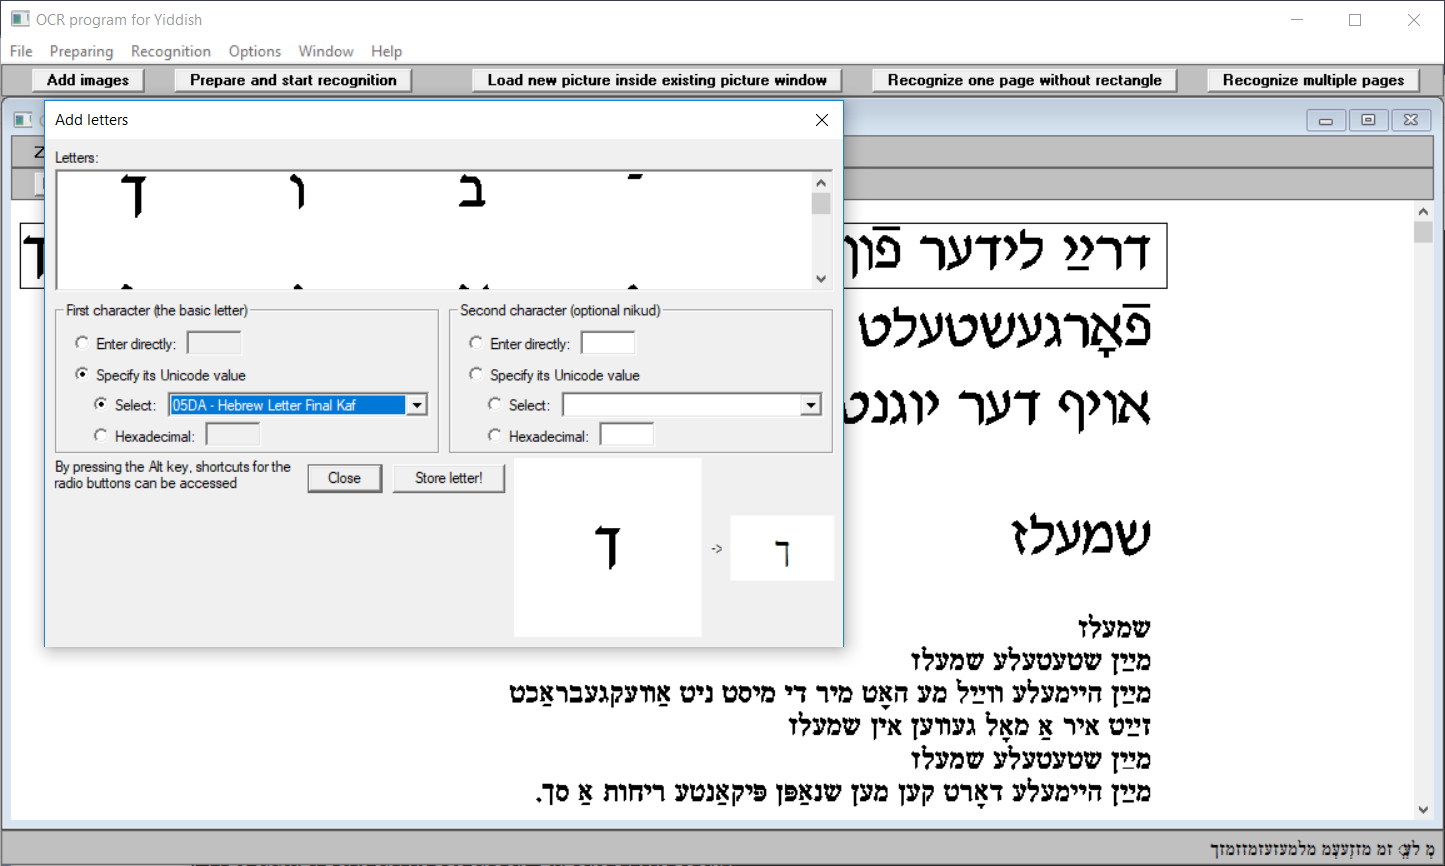
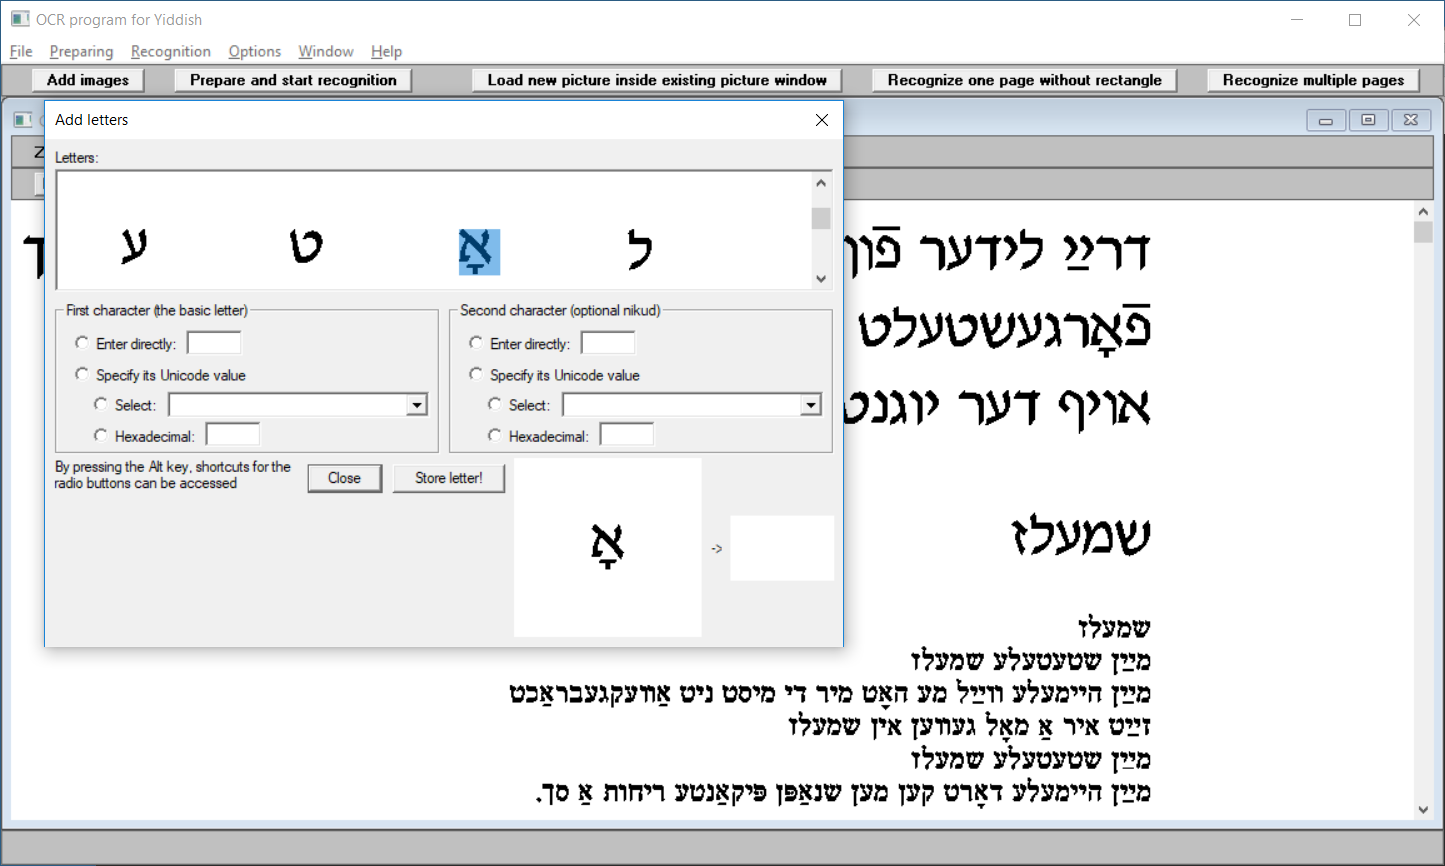
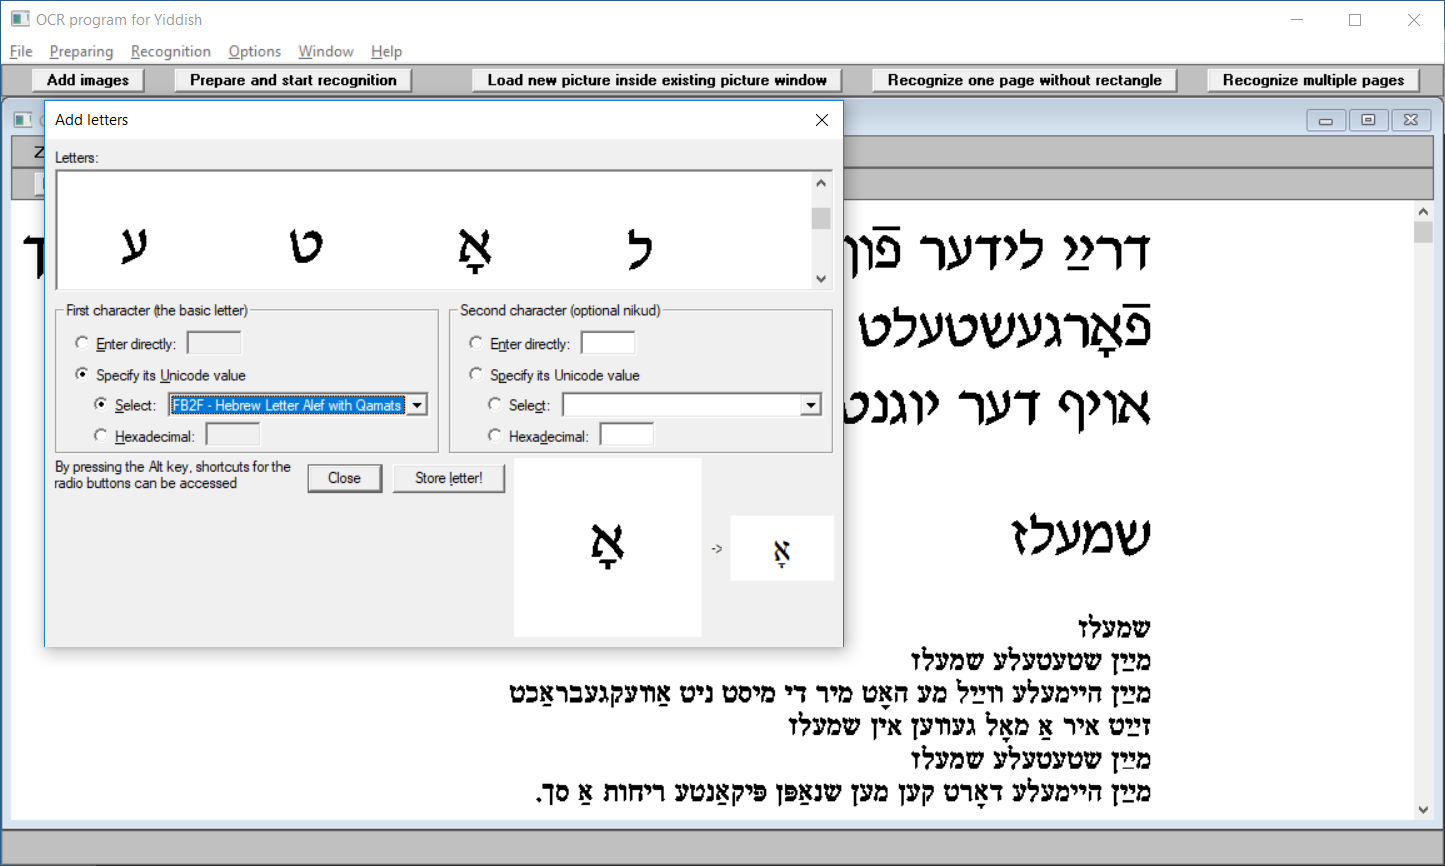
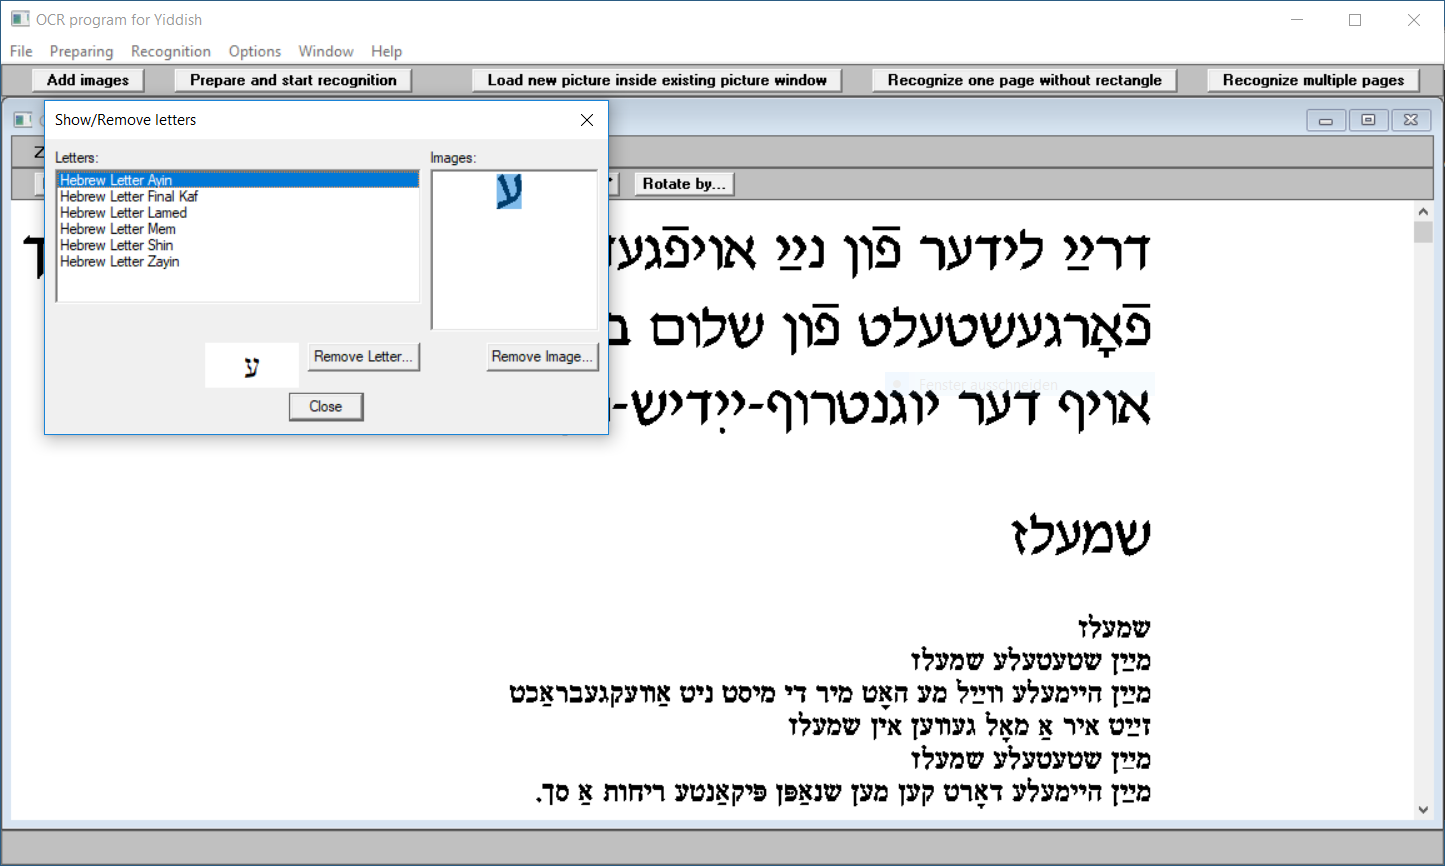
An image can be associated to a letter in the following ways:
Removing associations of images to letters (e.g. if a wrong association was accidentally made) can be done with the following steps:
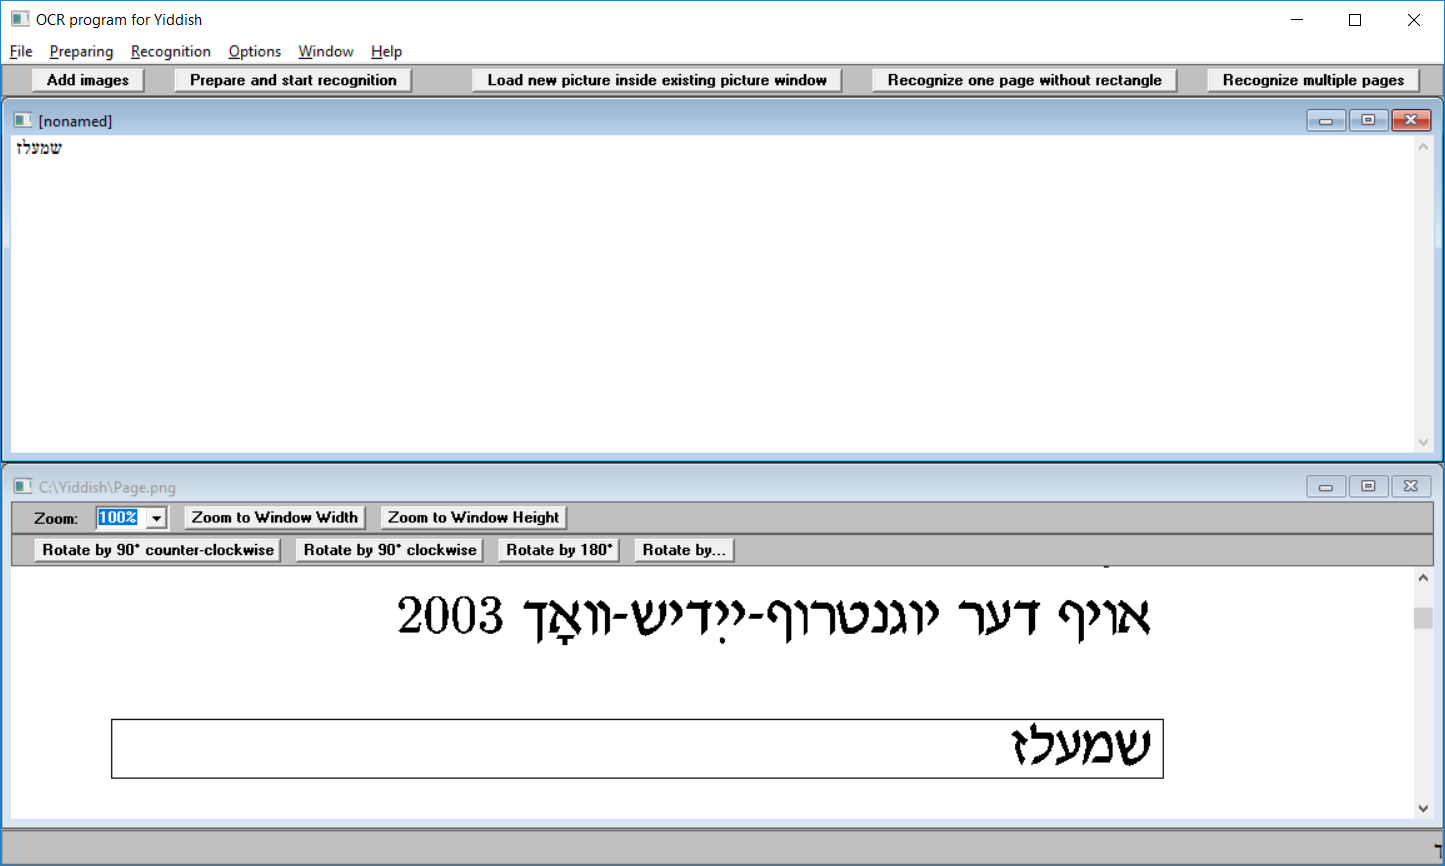
Click on the button Prepare and start recognition.

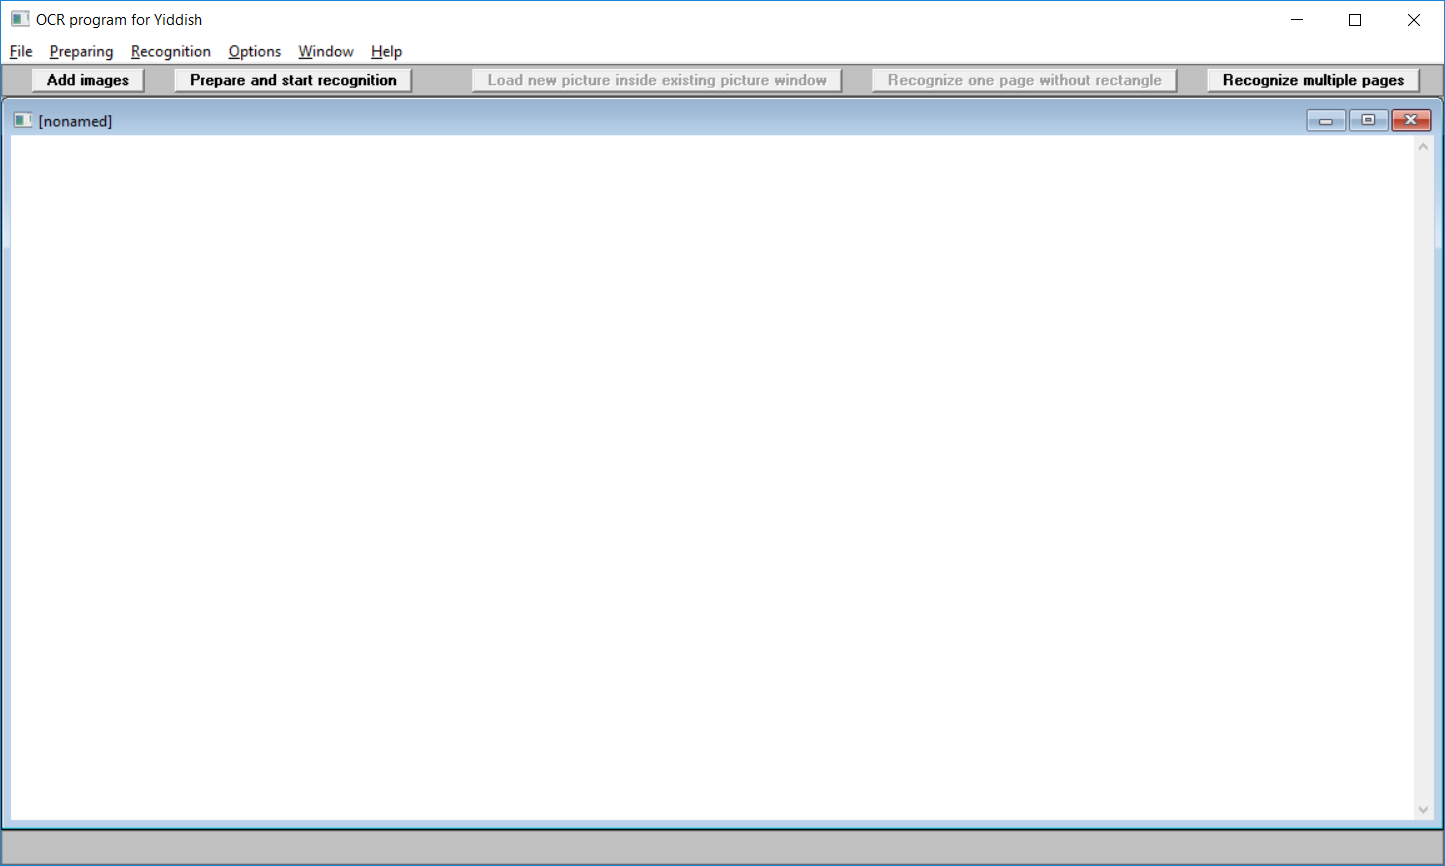
Create a new text file by clicking on Recognition and New Text Window!.
Place the two windows so that they can be accessed easily by clicking on the menu Window, menu item Tile Horizontally.
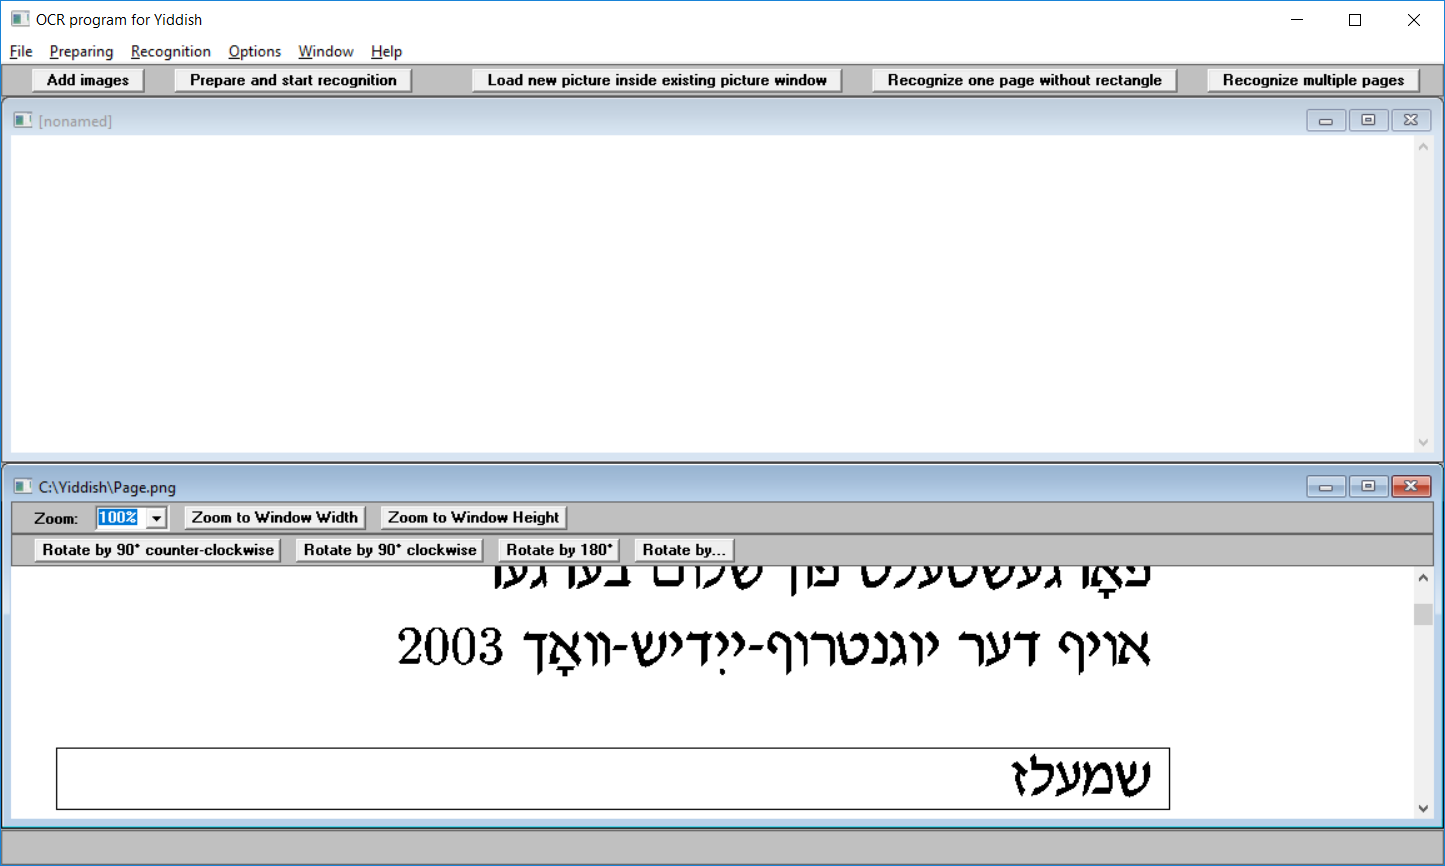
By placing a rectangle over the text to be recognized with the mouse and pressing the left mouse button (or use the Return key to read subsequent lines easily), the recognized text appears in the status bar and in the text window if one is open. The text can be saved with Recognition, Save Text in Unicode 16-Bit format.
|
Datei = File Öffnen = Open Speichern = Save Abbrechen = Cancel |
The screenshots are from version 1.1 and differ from the later versions |